
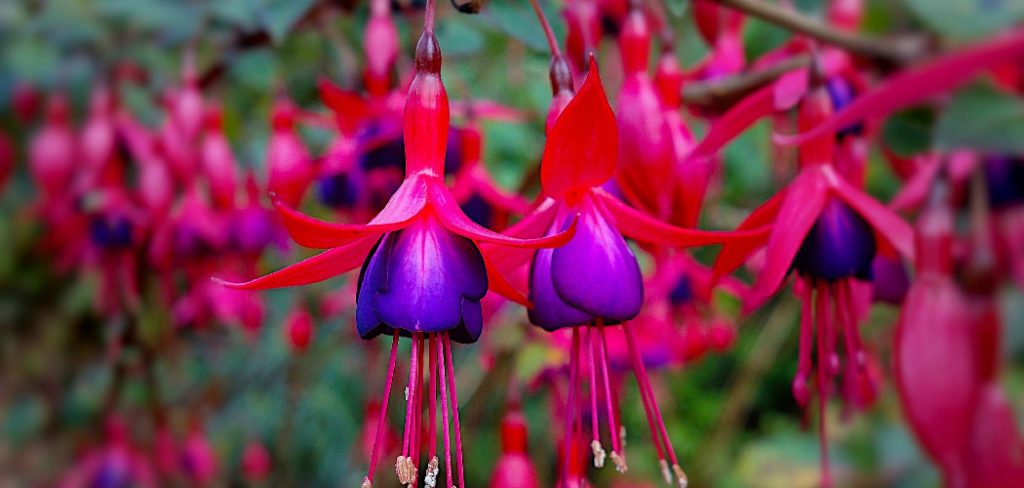
Are you a gardening enthusiast looking to grow your beautiful fuchsia plants from seed? Don’t worry, harvesting fuchsia seeds is a simple and rewarding process that can be easily done at home.
Harvesting fuchsia seeds is a rewarding process that allows gardeners to propagate new plants with unique traits. These delicate, ornamental flowers produce small berries that contain the seeds needed for cultivation. By carefully gathering and preparing these seeds, you can grow your fuchsias from scratch, adding a personal touch to your garden. Additionally, harvesting seeds from existing fuchsia plants is a cost-effective way to expand your collection without having to purchase new plants.
This guide on how to harvest fuchsia seeds will walk you through the simple steps to harvest fuchsia seeds effectively, ensuring the best chance for successful germination.
What Will You Need?
To successfully harvest and grow fuchsias from your seeds, you will need to gather the following materials:
- Healthy Fuchsia Plants: Select plants that are healthy, disease-free, and have desirable traits that you want to pass down.
- Pruning Shears: These will come in handy when collecting seeds from the plant.
- Paper Bag or Envelope: This will be used to store the collected seeds.
- Potting Soil: Use a high-quality potting soil for best results.
- Seed Trays or Pots: You can use seed trays or individual pots to start growing your fuchsias.
- Watering Can or Spray Bottle: A watering can or spray bottle will help you keep the soil moist while your seeds are germinating.
- Labels: It’s important to label your plants so you know which variety they are and what care they require.
8 Easy Steps on How to Harvest Fuchsia Seeds
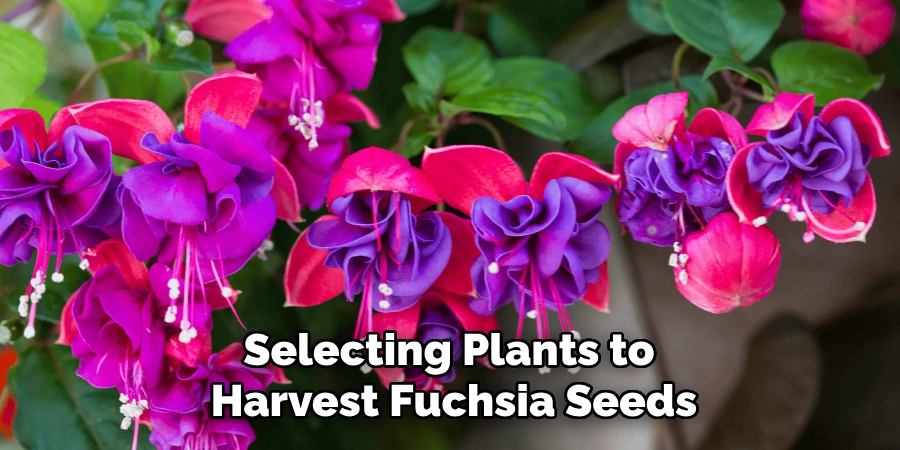
Step 1. Choose the Right Plants
When selecting plants to harvest fuchsia seeds from, choose healthy, mature fuchsia plants that have produced vibrant flowers. Look for plants that are free from pests or diseases, as this ensures the seeds will have the best chance of growing into strong, healthy plants. Opt for flowers that have fully ripened and begun to develop seed pods. These seed pods are typically found at the base of the flower after the petals have fallen off. Selecting the right plants is crucial for producing viable seeds that will thrive when planted.
Step 2. Wait for the Seed Pods
Allow the seed pods to fully mature on the plant before harvesting. This is typically indicated by the pods turning brown or dry and beginning to crack open naturally. Patience is key during this stage, as collecting the pods too early may result in immature seeds that are less likely to germinate. Monitor the plants regularly to ensure you don’t miss the optimal time for harvesting. If you live in an area with a lot of rain or high humidity, consider covering the seed pods with a breathable bag to protect them from excess moisture while they dry and mature.
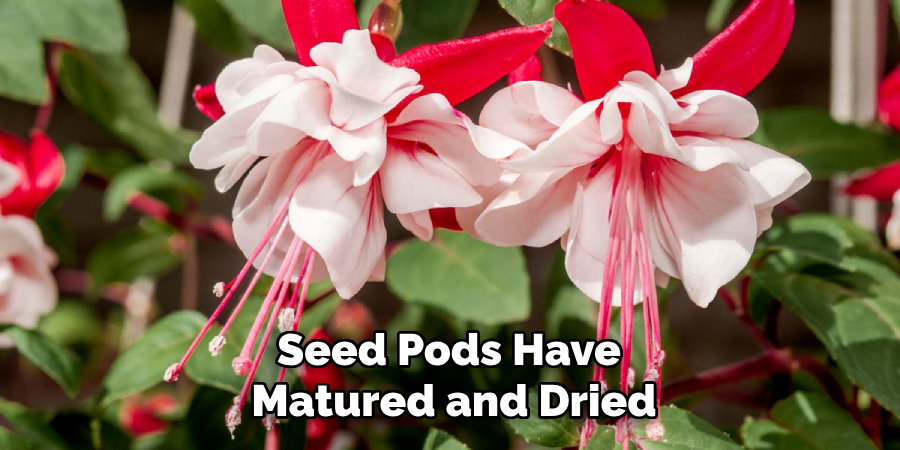
Step 3. Harvest the Seed Pods
Once the seed pods have matured and dried, carefully remove them from the plant. Use clean, sharp scissors or pruners to avoid damaging the plant or nearby pods. Place the harvested pods in a clean, dry container, and handle them gently to prevent premature opening. If some pods have already begun to split, collect the seeds directly and store them in a labeled, airtight container. Be sure to separate seeds from any remaining debris or plant material to ensure clean storage.
Step 4. Open the Seed Pods
Once the seed pods are completely dry, they can be opened to collect the seeds inside. Gently squeeze or crack open the pods over a clean surface, such as a tray or sheet of paper, to catch any seeds that may fall. For particularly stubborn pods, you can carefully use a small tool, like tweezers, to help pry them open. Take your time to ensure that seeds are not lost or damaged during the process. Once extracted, make sure the seeds are completely free from any remaining pod fragments or debris before moving on to storage.
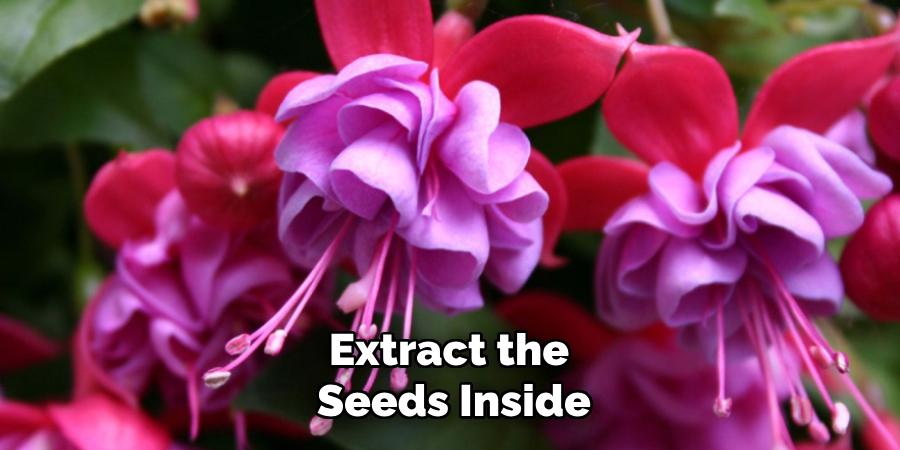
Step 5. Extract the Seeds
After harvesting the pods, the next step is to extract the seeds inside. This process may seem simple, but it requires some precision and care to ensure that the seeds are not damaged in the process.
To begin, gently squeeze or crack open the pods over a clean surface, such as a tray or sheet of paper. This will help catch any seeds that may fall out during extraction. For tougher pods, you can use a small tool like tweezers to carefully pry them open.
It’s important to take your time during this step and make sure that all seeds are safely extracted without getting lost or damaged.
Step 6. Dry the Seeds
After extracting the seeds, it is important to ensure they are thoroughly dried before storage to prevent mold or spoilage. Spread the seeds out in a single layer on a clean, dry surface, such as a paper towel, a piece of parchment paper, or a drying screen. Place them in a well-ventilated area away from direct sunlight, as excessive heat can damage the seeds. Allow the seeds to air dry for several days, stirring them occasionally to ensure even drying. Once the seeds are crisp and no longer feel moist to the touch, they are ready to be stored. Proper drying is crucial to maintaining the viability of the seeds for future use.
Step 7. Label the Seeds
Using a permanent marker, label each container, envelope, or seed packet with the name of the plant, the variety (if applicable), and the date the seeds were harvested. Clear labeling is essential to avoid confusion later and to ensure you have all the information needed for successful planting. Consider including additional details, such as specific growing instructions or ideal planting times, to make future gardening tasks easier. Proper labeling keeps your seed collection organized and makes planning for upcoming seasons more efficient.
Step 8. Store the Seeds
To store your seeds properly, choose a cool, dry, and dark location to ensure their longevity. Moisture and heat can significantly reduce seed viability, so it’s crucial to use airtight containers such as mason jars, resealable bags, or vacuum-sealed pouches. Adding silica gel packets or a small amount of dry rice to the container can help absorb any residual moisture. Label each container clearly, including details like the plant name, variety, and harvest date, as previously mentioned. For long-term storage, consider refrigerating seeds, but avoid freezing them unless the specific seed type can withstand freezing temperatures.
Following these steps will help ensure you successfully harvest and store fuchsia seeds for propagation.
5 Things You Should Avoid
- Harvesting Too Early
Avoid plucking the fruits prematurely from the plant. Fuchsia seeds need to fully ripen inside the fruit to ensure viability. Harvesting too early may result in immature seeds that are less likely to germinate successfully.
- Skipping Fruit Inspection
Do not skip the step of inspecting the fruit for signs of rot, mold, or damage. Using spoiled fruit can contaminate the seeds, decreasing their quality and viability.
- Failing to Clean Seeds Thoroughly
Avoid storing seeds with leftover fruit pulp or debris. This can lead to mold growth, which can ruin the seeds during storage and harm their future usability.
- Leaving Seeds to Dry Improperly
Do not dry seeds in a damp or poorly ventilated area. This can prevent them from drying completely and increase the chances of mold and bacteria developing.
- Improper Storage Conditions
Avoid storing seeds in an environment that is too humid or exposed to direct sunlight. High humidity and warmth can cause the seeds to lose viability or sprout prematurely in storage. Always ensure the storage area is cool, dry, and dark.
By avoiding these common mistakes, you can ensure the long-term viability of your saved seeds.
What Type of Seeds Work Best for Seed Saving?
There are two main categories of seeds: open-pollinated and hybrid. Each has its characteristics that make it suitable or less suitable for seed saving.
- Open-Pollinated Seeds: Open-pollinated (OP) seeds are pollinated by natural means, such as wind, insects, or birds. These seeds produce plants that are genetically similar to their parent plant and will continue to produce the same characteristics year after year. This makes them ideal for seed saving.
- Hybrid Seeds: Hybrid seeds are produced by cross-pollinating two different varieties of plants. The resulting seeds will have a mix of traits from both parent plants and may not be true-to-type when planted. This means that if you save and plant the seeds from a hybrid plant, you may not get the same type of plant as the original one.
- Open-Pollinated Seeds: Open-pollinated seeds are produced from plants that have been pollinated by natural means such as wind, insects, or birds. These seeds will produce offspring with similar traits to the parent plant, making them ideal for seed saving.
- Heirloom Seeds: Heirloom seeds are open-pollinated varieties of plants that have been passed down through generations, often for at least 50 years. These seeds are prized for their unique traits, flavor, and history. Growing heirloom plants also helps preserve genetic diversity in our food sources.
- Organic Seeds: Organic seeds come from plants that have been grown without the use of synthetic pesticides or fertilizers. These seeds are important for maintaining a healthy ecosystem and reducing exposure to harmful chemicals.
Conclusion
How to harvest fuchsia seeds can be a rewarding process when done correctly.
By carefully selecting ripe berries, cleaning the seeds thoroughly, and storing them in the proper conditions, you can preserve their viability and ensure successful planting in the future. Avoid common mistakes, such as harvesting immature seeds or exposing them to excessive moisture during storage.
With attention to detail and effort, you can enjoy a thriving fuchsia garden grown from your harvested seeds.
About
Jennifer Branett is a distinguished figure in the world of Garden design, with a decade of expertise creating innovative and sustainable indoor solutions. His professional focus lies in merging traditional craftsmanship with modern manufacturing techniques, fostering designs that are both practical and environmentally conscious. As the author of garden, Jennifer delves into the art and science of garden-fix, inspiring artisans and industry professionals alike.
Education RMIT University
(Melbourne, Australia) Associate Degree in Design (Jennifer Branett) Focus on sustainable design, industry-driven projects, and practical craftsmanship. Gained hands-on experience with traditional and digital manufacturing tools, such as CAD and CNC software.
Nottingham Trent University
(United Kingdom) Bachelor’s in Garden and Product Design (Honors) Specialized in product design with a focus on blending creativity with production techniques. Participated in industry projects, working with companies like John Lewis and Vitsoe to gain real-world insights.Publications and Impact
In indoor, Jennifer Branett his insights on Garden design processes, materials, and strategies for efficient production. His writing bridges the gap between artisan knowledge and modern industry needs, making it a must-read for both budding designers and seasoned professionals.