
Heuchera, commonly known as coral bells, are versatile and visually striking perennial plants that are prized for their vibrant foliage and delicate flowers. Propagating Heuchera plants is a rewarding process that allows gardeners to expand their collection or share these beauties with others. Whether you’re a seasoned gardener or a beginner, learning how to propagate Heuchera plants can be an enjoyable and straightforward endeavor.
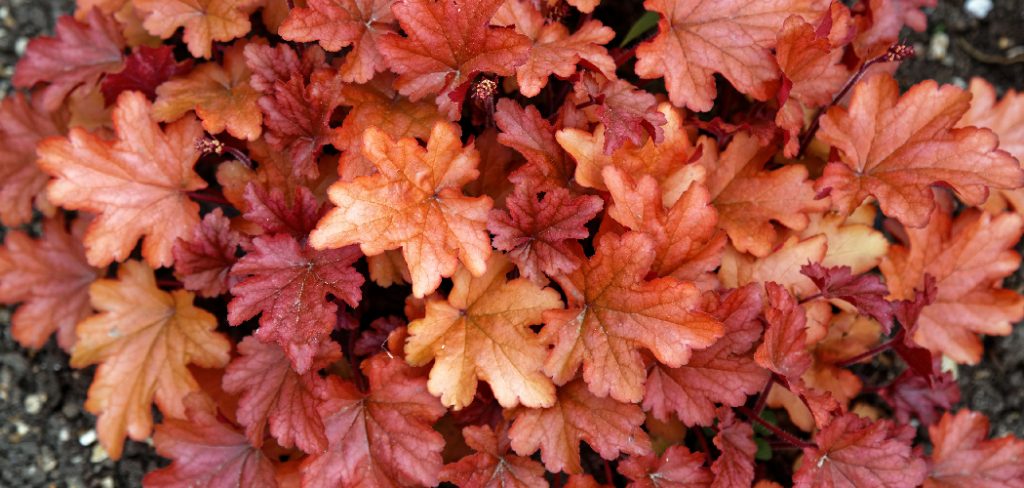
This guide on how to propagate heuchera plants will walk you through the essential steps to successfully propagate these charming plants.
Best Time to Propagate Heuchera
The ideal time to propagate Heuchera plants is during the spring or early fall. Spring offers optimal conditions as the plants are emerging from dormancy and beginning their active growth phase, which enhances their ability to establish roots and recover from division.
Early fall is another suitable period because the moderate temperatures and increased moisture in the soil provide a stable environment for successful propagation. Avoid attempting propagation during the peak heat of summer or the cold of winter, as extreme temperatures can stress the plants and reduce the likelihood of success. By choosing the right timing, you can increase the chances of healthy, thriving new Heuchera plants.
7 Step-by-Step Guidelines on How to Propagate Heuchera Plants
Step 1: Select the Parent Plant
Choose a healthy, mature Heuchera plant as the parent for propagation. Look for a plant with vibrant leaves and a well-established root system, free from any signs of disease or pests.
A robust parent plant increases the likelihood of producing strong and resilient new plants. Ensure the plant has been adequately watered prior to propagation to reduce stress during the process.
Step 2: Prepare Cuttings
Using a clean and sharp pair of gardening scissors or pruning shears, carefully cut a healthy stem or leaf cluster from the parent plant. Ensure the cutting is approximately 4 to 6 inches long and includes at least two or three leaf nodes, as this is where the roots will develop.
Remove any lower leaves near the base of the cutting to expose the nodes and create room for root growth. Handle the cuttings gently to avoid crushing the stem, which can hinder successful propagation.
Step 3: Remove Lower Leaves
After obtaining your cuttings, carefully remove the lower leaves near the base of the stem. This step is essential as it prevents the leaves from sitting in water or soil, which could lead to rot.
Use your fingers or a small pair of scissors to gently pinch or cut off the leaves without damaging the stem. Removing lower leaves also ensures the plant’s energy is directed toward root development rather than maintaining unnecessary foliage.
Step 4: Dip in Rooting Hormone (Optional)
To encourage faster and more robust root development, you can dip the cut end of your plant cutting into rooting hormone powder or gel. Although optional, this step can significantly increase the success rate of propagation, especially with certain plant species. Gently coat the cut end with the rooting hormone, ensuring an even layer without overloading it.
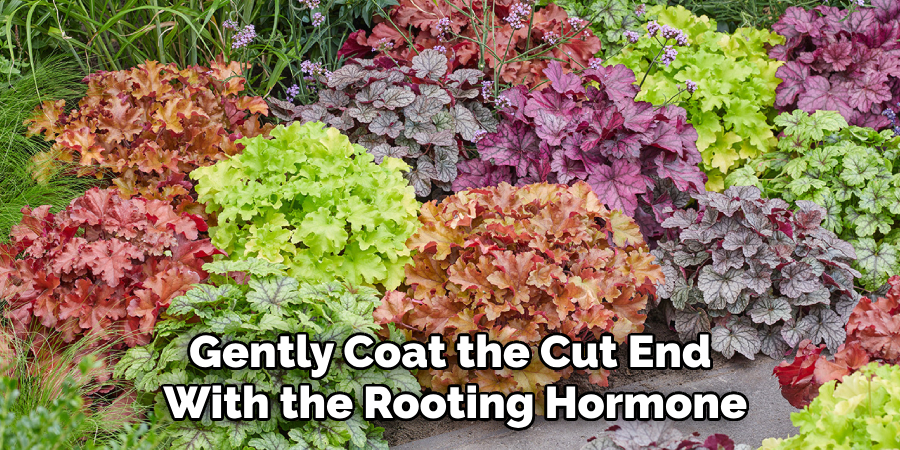
This creates an ideal environment for roots to grow while protecting the cutting from potential diseases. Remember to tap off any excess powder before planting to prevent clumping.
Step 5: Plant Cuttings
Once the cutting is prepared, it’s time to plant it in the growing medium. Choose a small pot with drainage holes and fill it with a well-draining soil mix, such as a blend of peat and perlite. Use a pencil or your finger to create a hole in the soil that is deep enough to accommodate the cutting without bending or damaging it.
Place the cutting gently into the hole, ensuring that the rooting hormone stays intact if applied, and then press the soil around it lightly to secure it in place. Water the soil lightly to provide moisture, but avoid overwatering, as this may hinder root development. Position the pot in a warm, bright location with indirect sunlight to give the cutting the optimal conditions for growth.
Step 6: Provide Adequate Care
Caring for the cutting as it begins to establish roots is crucial for its development. Check the soil regularly to ensure it remains moderately moist, but avoid waterlogging, which can cause root rot. Maintain a consistent temperature, ideally between 65-75°F (18-24°C), to support healthy growth.
If you notice any leaves wilting or drying out, mist them lightly to maintain humidity around the cutting. Be patient, as root development may take several weeks. During this time, avoid disturbing the cutting by tugging at it to check for roots, as this can damage the delicate new growth. Instead, observe for signs such as new leaf buds or visible roots near the soil surface, which indicate successful progress.
Step 7: Transplanting
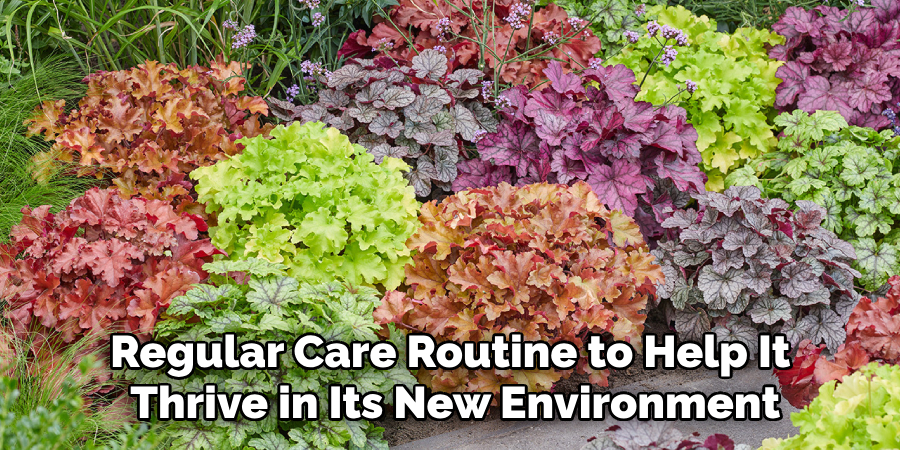
Once the cutting has developed a healthy root system, it’s time to transplant it into a larger pot with well-draining soil. Choose a pot that allows adequate room for the roots to grow and ensures proper drainage to prevent waterlogging. Gently remove the cutting from its current container, being careful not to disturb the fragile roots. Place it in the new pot at the same depth as it was previously planted, and fill the surrounding space with fresh soil.
Lightly press the soil down to secure the cutting, then water thoroughly to help it settle. Position the potted plant in a location with suitable light and temperature conditions, and continue your regular care routine to help it thrive in its new environment.
Following these steps on how to propagate heuchera plants will help you grow a beautiful and healthy plant. However, there are some additional tips that can further improve your success rate with propagating heuchera.
Caring for New Plants After Propagation
Proper care is essential to ensure the health and growth of heuchera plants after propagation. Start by keeping the soil consistently moist but not overly saturated; water the plant whenever the top inch of soil feels dry to the touch. It’s also important to place the plant in a partially shaded location, as too much direct sunlight may scorch the delicate leaves.
Feeding the plant with a diluted, balanced fertilizer every four to six weeks can encourage robust growth. Additionally, monitor the plant for any signs of pests or diseases, and promptly address issues as they arise. With attentive care, your newly propagated heuchera plants will establish strong roots and flourish in their new setting.
Troubleshooting Common Issues
Even with proper care, heuchera plants can occasionally encounter issues. One common problem is leaf discoloration, which may indicate overwatering or poor soil drainage. To address this, ensure the plant is in well-draining soil and cut back on watering. Yellow or wilting leaves can also result from pests such as aphids or spider mites. Inspect the plant regularly and use a gentle insecticidal soap to manage infestations.
Root rot is another concern, often caused by overly wet conditions—avoid letting the plant sit in standing water. If the plant appears stunted or growth slows, check for signs of nutrient deficiencies and consider adjusting the fertilization schedule. By taking proactive steps, most problems can be resolved to keep your heuchera plants thriving.
Tips for Successful Propagation
In addition to caring for an established heuchera plant, many gardeners also enjoy propagating new plants from cuttings or divisions. This is a great way to expand your collection and share the beauty of these unique perennials with friends and family.
Here are some tips for successful propagation:
Choose a Healthy Parent Plant:
When selecting a parent plant for propagation, make sure it is healthy and free from any pests or diseases. This will ensure that the new plants have a strong start.

Timing Matters:
The best time to take cuttings is in the spring when new growth has just emerged or in the fall before the first frost. This is when the plant will have the most energy and be more likely to root successfully.
Use the Right Tools:
Sharp, clean scissors or garden shears are essential for taking cuttings. Make sure to disinfect them with rubbing alcohol before and after using them to prevent the spread of any diseases.
Prepare the Cuttings:
Cut a 4-6-inch stem from the parent plant just below a leaf node (where a leaf attaches to the stem). Remove any lower leaves, leaving only a few at the top. If your plant has large leaves, you can also cut them in half to reduce water loss while rooting.
Rooting Hormone:
Using a rooting hormone can increase success rates when propagating plants. Dip the cut end of your stem into a rooting hormone powder or gel before placing it in soil. This will help stimulate root growth and increase the chances of survival.
Potting Soil:
Use a well-draining potting soil for your cuttings, such as a mix of peat moss, perlite, and vermiculite. Place the cutting in the soil, making sure to leave at least two nodes above ground level. Gently firm the soil around the stem to secure it in place. Keep the soil moist, but not waterlogged, and provide indirect light for the first few weeks until roots begin to form.
Mist Regularly:
Misting your cuttings regularly can help prevent them from drying out. This is especially important if you live in a dry climate or have a heating system that dries out the air. Use a spray bottle to mist the leaves and stems of your cuttings every day or every other day.
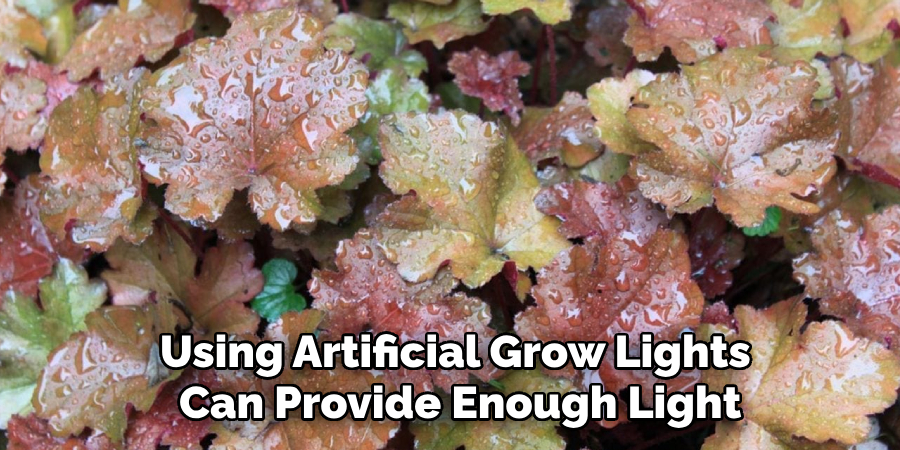
Provide Adequate Light:
While rooting, most cuttings prefer indirect or filtered light rather than direct sunlight. Placing your cuttings near a window with sheer curtains or using artificial grow lights can provide enough light without damaging the delicate new growth.
Conclusion
Propagating plants from cuttings is a simple and rewarding process that allows you to expand your indoor garden or share your favorite plants with others.
By maintaining proper moisture levels, providing adequate light, and giving your cuttings the care they need, you can ensure a higher success rate and enjoy the satisfaction of nurturing new growth. With patience and attention, your cuttings will thrive and become beautiful additions to your home or garden. Thanks for reading this article on how to propagate heuchera plants.
About
Jennifer Branett is a distinguished figure in the world of Garden design, with a decade of expertise creating innovative and sustainable indoor solutions. His professional focus lies in merging traditional craftsmanship with modern manufacturing techniques, fostering designs that are both practical and environmentally conscious. As the author of garden, Jennifer delves into the art and science of garden-fix, inspiring artisans and industry professionals alike.
Education RMIT University
(Melbourne, Australia) Associate Degree in Design (Jennifer Branett) Focus on sustainable design, industry-driven projects, and practical craftsmanship. Gained hands-on experience with traditional and digital manufacturing tools, such as CAD and CNC software.
Nottingham Trent University
(United Kingdom) Bachelor’s in Garden and Product Design (Honors) Specialized in product design with a focus on blending creativity with production techniques. Participated in industry projects, working with companies like John Lewis and Vitsoe to gain real-world insights.Publications and Impact
In indoor, Jennifer Branett his insights on Garden design processes, materials, and strategies for efficient production. His writing bridges the gap between artisan knowledge and modern industry needs, making it a must-read for both budding designers and seasoned professionals.