
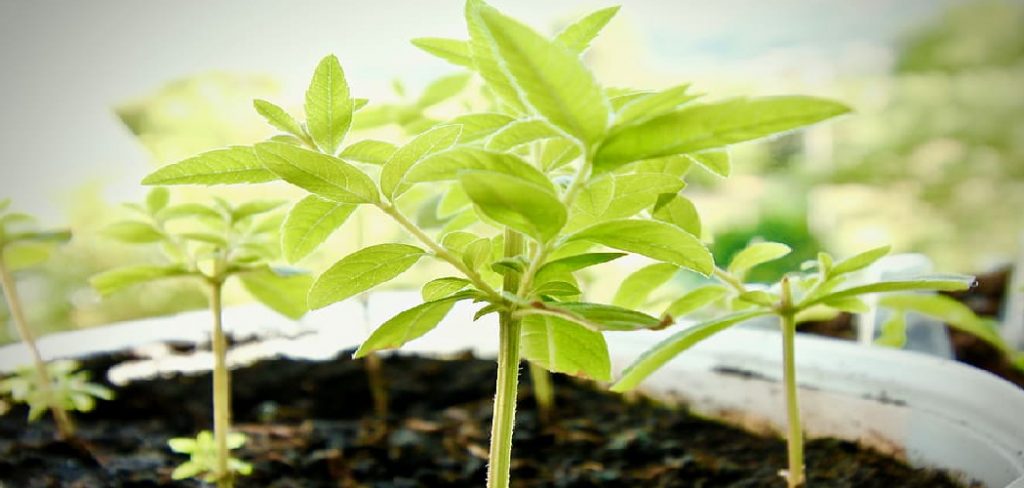
Collecting lemongrass seeds is a straightforward and rewarding process for gardeners and herbal enthusiasts alike. Lemongrass, known for its fragrant leaves and culinary versatility, is often grown from seeds to ensure a fresh and abundant supply. In this blog post, we’ll walk you through the steps on how to collect lemongrass seeds so that you can get back to using it in no time! So grab your tools, and let’s get started!
Why Collecting Lemongrass Seeds?
Collecting lemongrass seeds allows gardeners to cultivate this versatile plant in a sustainable and cost-effective way. By harvesting your own seeds, you can ensure a consistent supply for future planting without the need to purchase new plants or seeds each season. Additionally, collecting seeds from healthy, thriving lemongrass plants helps maintain desirable traits, such as strong growth and rich fragrance. For those passionate about gardening, seed collection promotes self-sufficiency and fosters a deeper connection to the plant-growing process.
When to Collect Lemongrass Seeds
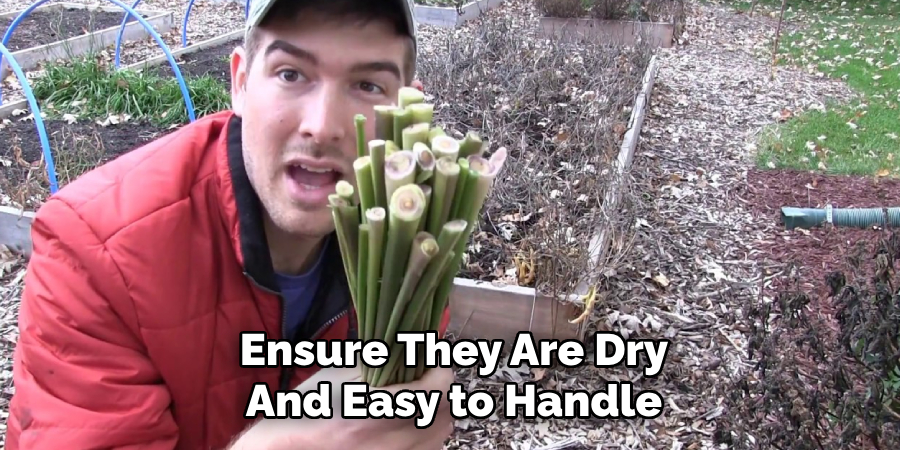
The ideal time to collect lemongrass seeds is when the plant’s flowers have matured and dried. This typically occurs late in the growing season, depending on your climate and the plant’s growing conditions. Look for flower heads that have turned brown and feel dry to the touch—this is a clear indicator that the seeds are ready for harvesting. Be sure to monitor the plants closely, as waiting too long can result in the seeds dispersing naturally, making them harder to collect. Early mornings, when the dew has evaporated but before the wind picks up, are often the best times for harvesting seeds to ensure they are dry and easy to handle.
10 Methods How to Collect Lemongrass Seeds
1. Understand the Difference Between Lemongrass Types
Before collecting lemongrass seeds, it’s crucial to identify which type of lemongrass you’re growing. There are two primary species: Cymbopogon citratus, commonly used for culinary purposes, and Cymbopogon flexuosus, often used for essential oil production. The key distinction here is that C. citratus (the one most gardeners grow for cooking) rarely produces viable seeds and is typically propagated through division. On the other hand, C. flexuosus can produce seeds, especially in warmer climates. Knowing your plant type helps set realistic expectations—some gardeners may find that their lemongrass doesn’t go to seed at all, and that’s a natural trait of the species.
2. Allow the Plant to Mature Fully Through the Growing Season
Seed collection from lemongrass requires patience. It must be allowed to reach full maturity—usually at least 10 to 12 months of uninterrupted growth—before seed heads can form. This means that in cooler or temperate climates, where lemongrass is often grown as an annual, it may never produce flowers or seeds. However, in warm tropical and subtropical regions, lemongrass can grow year-round and will eventually send up tall stalks with feathery seed heads. Ensure the plant is healthy, well-fed, and not pruned too aggressively, so it can focus on flowering and seed development toward the end of its lifecycle.
3. Watch for the Flowering Phase in Late Summer or Early Fall
The flowering stage is a clear sign that your lemongrass may produce seeds. You’ll notice long stalks emerging from the base of the plant, topped with wispy, silvery-brown panicles resembling ornamental grasses. This typically happens in late summer to early fall, depending on your region and growing conditions. The flowering heads can appear quite subtle, so check regularly once the plant matures. Avoid harvesting the plant during this time—allow it to channel its energy into producing seed rather than regrowing leaves. Observing this natural cycle is essential to seed collection success.
4. Leave Seed Heads on the Plant to Dry Naturally
Once flowering occurs, resist the temptation to cut the seed heads prematurely. Let the panicles dry naturally on the plant in the sun. This drying process allows the seeds inside to mature fully and gain the viability needed for germination. As the seed heads dry, they change color from pale green to golden or light brown and take on a brittle texture. This is an indicator that the seeds inside are ready. Drying on the plant also reduces the risk of mold or poor germination due to immature collection.

5. Protect Seed Heads from Rain and Wind
Dry weather is ideal during the seed-ripening phase. If unexpected rainfall or strong winds are forecasted, protect the seed heads using light mesh bags, fine cloth, or even breathable paper bags. Gently tie the covering around the stalk below the seed head to keep seeds from dispersing too early or being washed away. This practice is especially important if you’re waiting for a final stage of drying but can’t rely on stable weather conditions. It also prevents birds or insects from nibbling on the ripening seeds.
6. Harvest When Seed Heads Are Dry and Crumbly
Once the seed heads are thoroughly dry and start to crumble when rubbed gently between your fingers, it’s time to harvest. Cut the stalks several inches below the panicle using sharp garden shears. Work over a clean tray or cloth so that any loose seeds that fall are caught easily. Handle the seed heads carefully to minimize seed loss during transfer. If you’re harvesting multiple stalks, bundle them together and store them temporarily in a dry, well-ventilated place until you’re ready to thresh and clean them.
7. Thresh Gently to Separate Seeds from Chaff
Threshing is the process of separating the actual lemongrass seeds from their dry, papery husks. To do this, rub the seed heads between your palms over a container or cloth, allowing the seeds to fall out. The seeds are tiny, oval, and light brown or tan, often mixed with fibrous material. For small batches, manual threshing works best. Avoid using harsh mechanical methods that can damage the delicate seeds. If you’re processing larger quantities, a sieve or mesh screen can help separate the seeds more efficiently from the chaff.
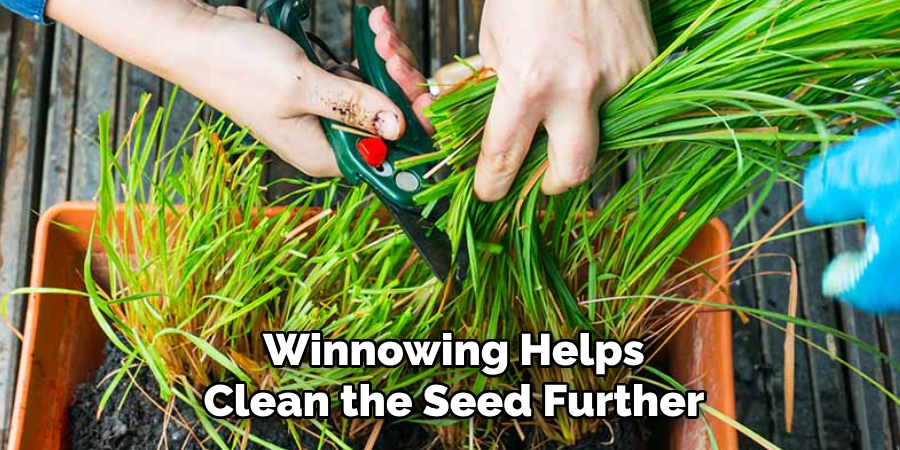
8. Winnow to Remove Lightweight Debris
After threshing, winnowing helps clean the seed further. This traditional method involves gently blowing air over the seed mixture to remove the lightweight husk and debris while allowing the heavier seeds to remain behind. You can use a small fan on a low setting or simply pour the mixture slowly from one container to another in front of a gentle breeze. Repeat this process until mostly clean seeds remain. A clean seed batch not only looks better but also stores better, as leftover plant debris can harbor moisture and mold.
9. Dry Seeds Further and Store Properly
Even after collection and initial cleaning, it’s important to dry the seeds one final time before storage. Spread them out in a single layer on a paper towel or drying screen in a cool, dry area out of direct sunlight for 3 to 5 days. Once they’re fully dry, place them in labeled envelopes, paper packets, or small airtight jars. Store your seeds in a cool, dark, and dry location—like a seed box, cabinet, or refrigerator. Properly stored lemongrass seeds can remain viable for up to 2–3 years, although fresher seeds usually germinate more reliably.
10. Test Germination or Sow Directly When Ready
To confirm seed viability before planting an entire crop, consider performing a germination test. Place about 10 seeds on a moist paper towel, fold it, and seal it in a plastic bag. Keep it in a warm place and check after 7–10 days. If the majority of seeds sprout, you have a strong batch ready for planting. You can start lemongrass seeds indoors in warm trays or directly outdoors if the soil is consistently above 70°F (21°C). Germination is often slow and irregular, so be patient—your carefully collected seeds will soon reward you with fresh growth and citrusy fragrance.
Things to Consider When Growing Lemongrass
- Temperature and Climate
Lemongrass thrives in warm, sunny conditions and is highly sensitive to frost. Ensure the temperature stays consistently above 70°F (21°C) for optimal growth. If you live in a cooler climate, consider growing it in containers so you can bring it indoors during cold months.
- Soil Preparation
Well-draining, nutrient-rich soil is essential for healthy lemongrass plants. Add compost or organic matter to enrich the soil and provide the necessary nutrients. Avoid waterlogged soil, as it can cause root rot.
- Watering Needs
Regular watering is crucial during the growing season. Keep the soil consistently moist but not soggy. Mulching can help retain moisture and regulate soil temperature.
- Harvesting Tips
Harvest lemongrass stalks when they are at least half an inch thick. Cut the stalks close to the base, and use both the lower stalk and leaves in cooking or herbal preparations.
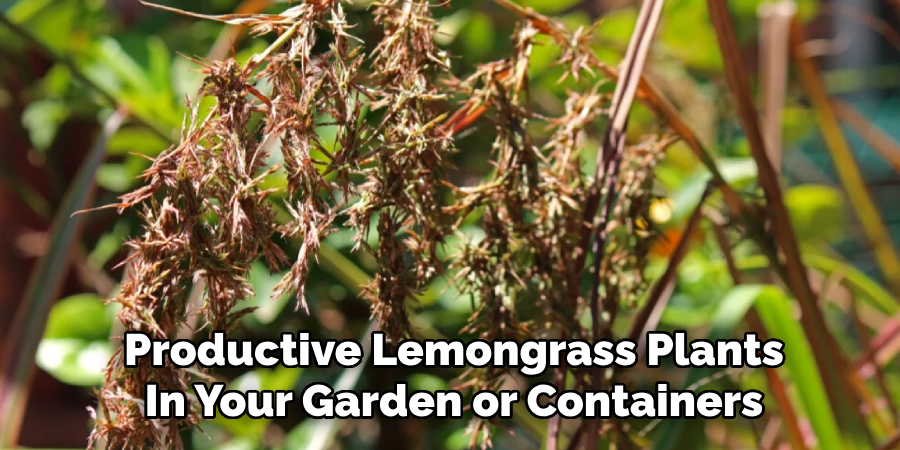
By keeping these points in mind, you can ensure healthy and productive lemongrass plants in your garden or containers.
Conclusion
Collecting lemongrass seeds is a practice rooted in observation, patience, and timing. While not all lemongrass varieties reliably produce seeds—especially the commonly grown C. citratus—it is still possible to harvest them from the right species under favorable conditions. Thanks for reading, and we hope this has given you some inspiration on how to collect lemongrass seeds!
About
Jennifer Branett is a distinguished figure in the world of Garden design, with a decade of expertise creating innovative and sustainable indoor solutions. His professional focus lies in merging traditional craftsmanship with modern manufacturing techniques, fostering designs that are both practical and environmentally conscious. As the author of garden, Jennifer delves into the art and science of garden-fix, inspiring artisans and industry professionals alike.
Education RMIT University
(Melbourne, Australia) Associate Degree in Design (Jennifer Branett) Focus on sustainable design, industry-driven projects, and practical craftsmanship. Gained hands-on experience with traditional and digital manufacturing tools, such as CAD and CNC software.
Nottingham Trent University
(United Kingdom) Bachelor’s in Garden and Product Design (Honors) Specialized in product design with a focus on blending creativity with production techniques. Participated in industry projects, working with companies like John Lewis and Vitsoe to gain real-world insights.Publications and Impact
In indoor, Jennifer Branett his insights on Garden design processes, materials, and strategies for efficient production. His writing bridges the gap between artisan knowledge and modern industry needs, making it a must-read for both budding designers and seasoned professionals.