
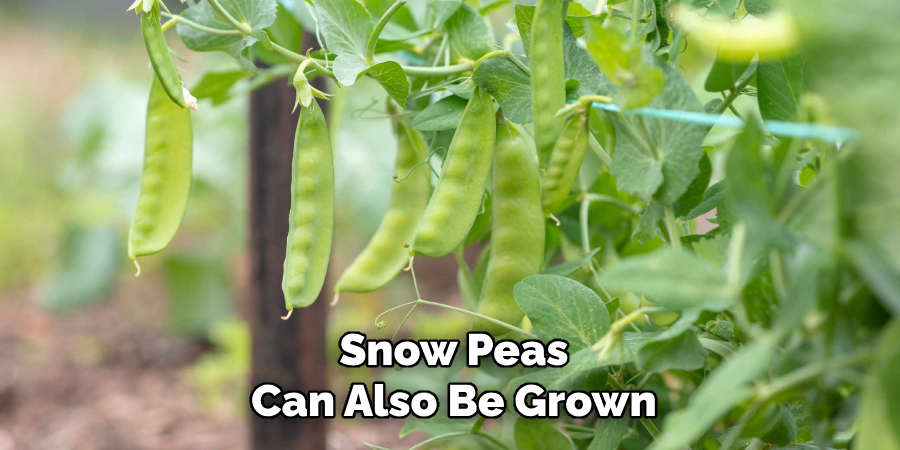
Snow peas are a delightful addition to any home garden, known for their crisp texture and sweet flavor. They are easy to grow, making them a perfect choice for both beginner and experienced gardeners. Snow peas thrive in cooler weather and can be started early in the growing season, providing a delicious harvest in just a few weeks.
With proper care, these versatile plants can produce an abundant crop that is perfect for cooking or enjoying fresh from the garden. In this article on how to grow snow peas from seed, we will go over the necessary steps and tips to successfully grow this tasty vegetable.
Understanding Snow Pea Seeds
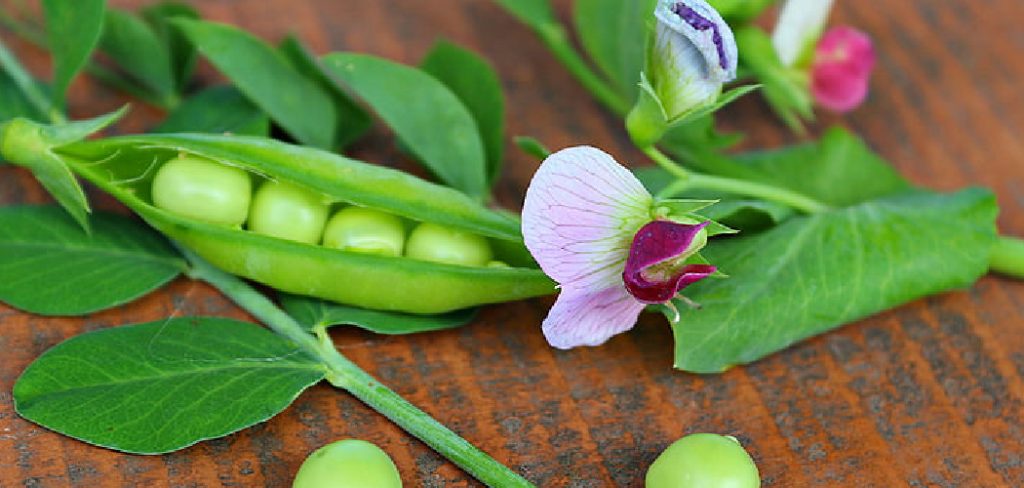
Snow pea seeds are small, round, and typically light brown or tan in color. They are hard to the touch and require proper preparation to ensure optimal germination. These seeds are well-suited to cooler climates, as snow peas flourish in temperatures ranging from 55°F to 70°F.
It is important to choose high-quality seeds that are free from any signs of damage or disease, as this will greatly impact the success of your plants. If you’re uncertain, look for certified organic or heirloom varieties, which often boast robust growth and flavorful pods. Preparing the seeds by soaking them in water for a few hours before planting can help to soften the outer shell, making it easier for the seedlings to sprout and thrive.
Tools & Materials Needed
- Snow Pea Seeds (Certified, High-quality Recommended)
- Garden Bed, Raised Bed, or Containers With Drainage Holes
- Well-draining, Loose Soil
- Compost or Organic Matter
- Trowel or Hoe
- Trellis, Netting, or Stakes for Climbing Varieties
- Watering Can or Hose
5 Simple Steps on How to Grow Snow Peas From Seed
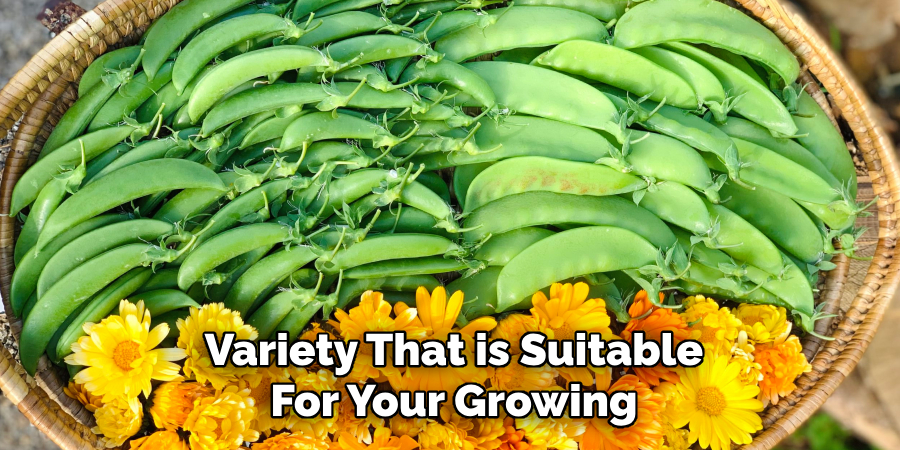
Step 1: Choose the Right Variety of Snow Peas
- When selecting snow peas, it is important to choose a variety that is suitable for your growing conditions and needs. Consider factors such as climate, space availability, and preferred flavor.
- Popular snow pea varieties include Dwarf Grey Sugar, Oregon Sugar Pod II, Mammoth Melting Sugar, and Super Snappy.
Step 2: Prepare Your Growing Space
- Snow peas can be grown in garden beds, raised beds, or containers as long as there is adequate drainage.
- If growing in a garden bed or raised bed, ensure that the soil is well-draining and loose. This will allow the roots to easily penetrate the soil and access water and nutrients.
- If using containers, make sure they have drainage holes and use a potting mix that is specifically formulated for vegetables.
- Choose a location that receives full sun (at least 6 hours of direct sunlight) and has protection from strong winds. Snow peas can tolerate some shade, but will produce fewer pods in lower light conditions.
Step 3: Plant Your Snow Peas
- For best results, soak your snow pea seeds in water for 4-6 hours before planting to help with germination.
- Plant the seeds directly into the ground or containers at a depth of 1 inch. Space them about 2 inches apart in rows that are 18 inches apart.
- Once planted, lightly cover with soil and water gently.
- Keep the soil consistently moist, but not waterlogged.
- Mulch around the base of your plants to help retain moisture and suppress weeds.
- As your snow pea plants grow, provide support by using trellises or stakes. This will allow them to climb and prevent damage from strong winds.
Step 4: Harvesting
Snow peas are typically ready to harvest in about 60 days after planting. When the pods are plump and round, they are ready to be picked. Be sure not to wait too long as the pods can quickly become tough and lose their sweet flavor.
To pick snow peas, gently hold the stem with one hand and use the other hand to snap off the pod at its base. Avoid pulling or twisting as this can damage the plant.
Harvest your snow peas regularly to encourage continuous production. The more you pick, the more your plants will produce.
Step 5: Enjoy Your Snow Peas
Once you’ve harvested your snow peas, it’s time to enjoy the fruits of your labor. Snow peas are incredibly versatile and can be used in a variety of dishes. Eat them raw as a crunchy snack, toss them into salads for a fresh, sweet addition, or sauté them in stir-fries for a quick and healthy meal. Their tender pods and mild, slightly sweet flavor make them a favorite in many cuisines. Whether you enjoy them on their own or as part of your favorite recipe, your homegrown snow peas are sure to delight your taste buds!

Following these steps on how to grow snow peas from seed will not only give you a sense of accomplishment but also provide you with delicious and nutritious peas to enjoy. With their short growing season and easy-to-care-for nature, snow peas are the perfect choice for beginner gardeners or anyone looking to add some fresh produce to their diet.
Additional Tips
- If you are planting in containers, make sure they have good drainage to avoid waterlogging.
- Consider adding organic fertilizer or compost to enrich the soil before planting for better growth and yields.
- To extend your harvest season, stagger plantings every 2 weeks.
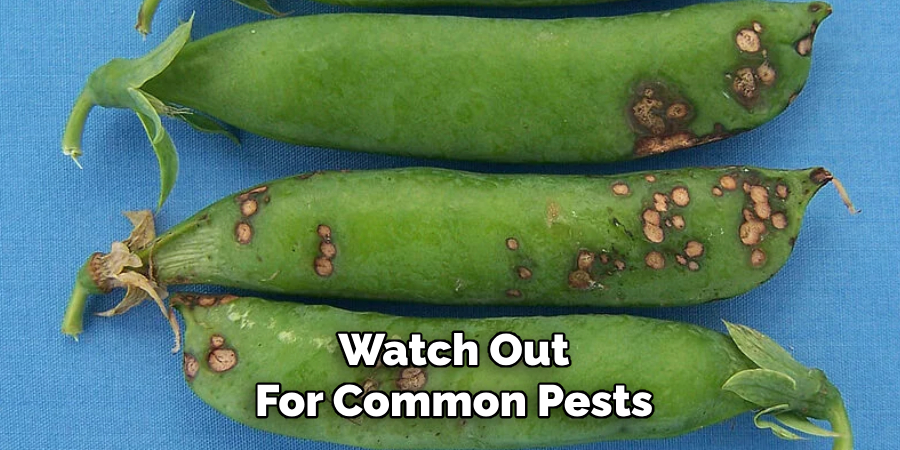
- Watch out for pests such as aphids and caterpillars. Handpicking or using organic pesticides can help control them.
- To prevent diseases, avoid overcrowding plants and provide good air circulation by trimming back any excess foliage.
- Harvest snow peas when the pods are plump and bright green. Regular picking will encourage continued production.
- After harvesting, store in the refrigerator for up to a week or blanch and freeze for longer storage.
- Don’t forget to save some seeds from your best plants for next year’s crop! Simply let a few pods dry on the plant before harvesting and collect the seeds inside.
- Experiment with different varieties of snow peas to find your favorites in terms of taste, texture, and productivity.
Maintenance and Growth Tips
Consistent Watering:
Snow peas thrive in moist soil, so ensure they receive regular watering, especially during dry periods. However, avoid overwatering as it may lead to root rot.
Support Structures:
Use trellises, stakes, or netting to provide support for climbing varieties. This encourages healthy growth and makes harvesting easier.
Weed Control:
Keep the area around your snow peas free of weeds to reduce competition for nutrients and water. Mulching can help suppress weeds and retain soil moisture.
Fertilizing:
Apply a balanced, organic fertilizer once or twice during the growing season to support healthy development. Avoid excessive nitrogen, as it can lead to lush foliage at the expense of pod production.
Pest and Disease Management:
Watch out for common pests like aphids and powdery mildew. Use organic solutions, such as insecticidal soap or neem oil, to address these issues promptly.
With proper care and attention, your snow peas will flourish, rewarding you with a bountiful harvest!
Frequently Asked Questions
Q: Can Snow Peas Be Grown in Containers?
A: Yes, snow peas can be grown in containers as long as they have enough space for their roots to grow and a trellis or support structure to climb on. It is important to use a well-draining potting mix and provide regular watering and fertilization for optimal growth.
Q: How Often Should Snow Peas Be Watered?
A: Snow peas should be watered regularly, at least once a week or more often during hot and dry weather. It is important to keep the soil consistently moist but not waterlogged, as overwatering can lead to root rot. Mulching around the base of the plants can help retain moisture in the soil.
Q: When Is the Best Time to Harvest Snow Peas?
A: The best time to harvest snow peas is when they are young and tender, usually when they reach about 3 inches in length. This is typically 55-70 days after planting, but can vary depending on the variety of snow peas and growing conditions. It is important to regularly check your plants for ripe pods, as leaving them on the plant too long can result in tough and stringy peas.
Q: Can Snow Peas Be Grown Year-Round?
A: Snow peas are a cool-season crop and grow best in temperatures between 50-70°F (10-20°C). They can be planted in early spring or late summer for a fall harvest, but may not perform well in hot summer temperatures. In areas with mild winters, snow peas can also be grown during the winter months.
Conclusion
Snow peas are a versatile and rewarding crop for gardeners of all levels. With proper care and attention to their growing conditions, they can provide a bountiful harvest of crisp, delicious pods. By planting at the right time of year and monitoring their growth, you can enjoy the fresh taste of homegrown snow peas in a variety of dishes.
Whether you are a seasoned gardener or just starting out, snow peas are an excellent addition to your garden. Thanks for reading this article on how to grow snow peas from seed.
About
Jennifer Branett is a distinguished figure in the world of Garden design, with a decade of expertise creating innovative and sustainable indoor solutions. His professional focus lies in merging traditional craftsmanship with modern manufacturing techniques, fostering designs that are both practical and environmentally conscious. As the author of garden, Jennifer delves into the art and science of garden-fix, inspiring artisans and industry professionals alike.
Education RMIT University
(Melbourne, Australia) Associate Degree in Design (Jennifer Branett) Focus on sustainable design, industry-driven projects, and practical craftsmanship. Gained hands-on experience with traditional and digital manufacturing tools, such as CAD and CNC software.
Nottingham Trent University
(United Kingdom) Bachelor’s in Garden and Product Design (Honors) Specialized in product design with a focus on blending creativity with production techniques. Participated in industry projects, working with companies like John Lewis and Vitsoe to gain real-world insights.Publications and Impact
In indoor, Jennifer Branett his insights on Garden design processes, materials, and strategies for efficient production. His writing bridges the gap between artisan knowledge and modern industry needs, making it a must-read for both budding designers and seasoned professionals.