
If you’re looking for a sustainable and versatile way to boost your gardening results, learning how to make coco peat soil is an excellent place to start. Coco peat soil, also known as coir pith or coir dust, is a remarkable growing medium that combines eco-friendliness, excellent water retention, and superior aeration for plant roots.

Derived from coconut husks—a renewable resource that would otherwise go to waste—coco peat is increasingly favored by gardeners worldwide. Making your own coco peat soil at home not only saves money but also allows you to control soil quality, minimize your ecological footprint, and create ideal conditions for healthier, more robust plants.
Understanding Coco Peat
Before you dive into the practical steps of making coco peat soil, it’s important to understand what coco peat is and why it’s valued by gardeners.
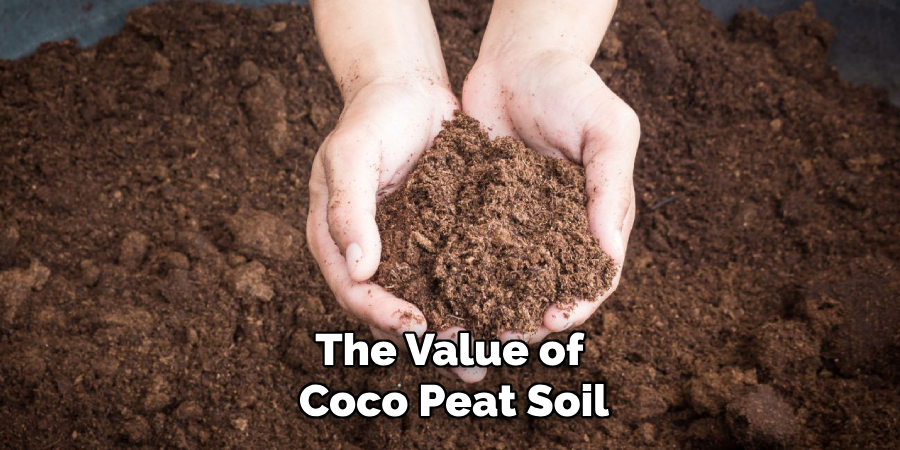
Coco peat is the spongy, fibrous byproduct generated when coconut husks are processed for fibers. It is brownish in color and has a fine, crumbly texture reminiscent of rich garden soil. Unlike some other organic amendments, coco peat does not break down quickly, making it long-lasting in garden beds and pots.
Compared to traditional soil, coco peat boasts several advantages. Its natural composition allows it to retain water up to eight times its own weight while still allowing for excellent drainage. This prevents waterlogged roots and promotes the steady provision of moisture, which is vital for most plants. Additionally, coco peat offers a primarily neutral pH, making it easy to blend with other amendments to achieve the specific needs of different plants.
Coco peat outshines other growing mediums such as peat moss in its sustainability and ease of use. Peat bogs, the source of traditional peat moss, are delicate ecosystems under threat from over-extraction, but coconut husks are an agricultural byproduct. Using coco peat reduces waste, cuts reliance on nonrenewable resources, and supports more responsible gardening.
How Coco Peat Enhances Plant Growth
The value of coco peat soil for gardening comes from its structural and chemical properties. Its loose, fibrous texture creates air pockets within the soil, allowing plant roots to breathe and expand rather than becoming compacted. This improved root aeration translates into healthier, more resilient plants.
Additionally, the water-holding capacity means roots have access to consistent moisture—critical for seed starting, container gardens, or in climates with sporadic rainfall. Coco peat’s structure prevents rapid compaction, making it ideal for repeated planting, and its neutral pH offers a versatile base for most garden plants.
Materials Needed to Make Coco Peat Soil
Before learning how to make coco peat soil, gather your materials and tools. Being prepared ensures the process is efficient and minimizes waste.
To create coco peat at home, you’ll need coconut husks—the core raw material. Husk quality is important because it determines the quality and longevity of your final product. If you don’t have coconut trees nearby, check local markets or suppliers specializing in natural garden products.
The following tools and supplies are recommended:
- Shredder or hammer: To break down the coconut husks and expose the coir fibers.
- Sieve or mesh: For removing large pieces and ensuring a fine, uniform peat.
- Buckets and tub: For soaking and rinsing.
- Clean water: Preferably rainwater or filtered water to avoid salt contamination.
For larger projects or to streamline the process, consider using a mechanical shredder. For small-scale hobbyists, hand tools like a hammer and sharp knife will suffice. When sourcing cocoa husks, look for suppliers or markets that offer untreated, pesticide-free husks to avoid introducing chemical residues into your garden.
Selecting the Right Coconut Husks
Not all coconut husks are equal when it comes to making high-quality coco peat. The freshness, texture, and quality of the husks matter.
- Freshness: Choose recently harvested husks that haven’t dried out excessively or started to mold.
- Texture: Good husks are neither too fibrous (which can be coarse in the final product) nor too tough to break apart. A balance of fiber and inner pith ensures even moisture retention.
- Sourcing: If possible, source husks locally to cut down on transportation costs and support sustainable agricultural practices. Ask vendors about pesticide use to avoid chemical contamination in your soil.
Checking husks for even coloration, resilience, and a lack of strong odors or visible mold is a basic but reliable way to select the best raw material. Cleaner husks yield finer coco peat and will reduce your effort during the processing stage.
How to Make Coco Peat Soil: Step-by-Step Process
Now let’s break down how to make coco peat soil, step by step—from processing raw coconut husks to producing a finished, garden-ready product.
Breaking Down the Husks
Start by removing any residual flesh from your coconut husks and allowing them to dry in the sun for a few days. Drier husks are easier to break down.
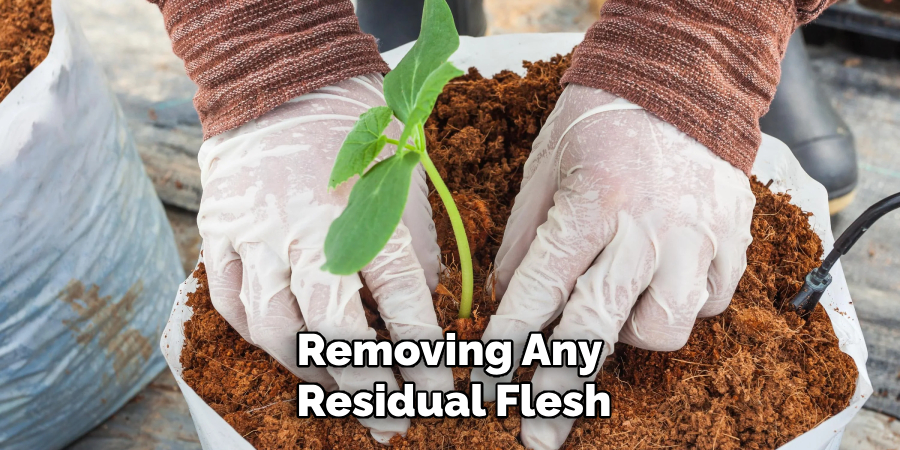
The next step is to manually or mechanically shred the husks to separate the fibers from the inner pith. For small batches, you can use a sturdy knife, hammer, or even a heavy rock to pound and fracture the husk, gradually pulling loose fibers away. For larger amounts, a mechanical shredder will dramatically speed up the process; feed husk chunks into the machine and collect the output.
The goal is to break the husks into small, manageable pieces—ideally a mix of coarse fiber and finer coir dust.
Extracting the Fibers and Dust
Once the husks are broken up, the next phase involves separating the fibrous strands from the finer particles—the actual coco peat.
- Manual separation: Rub handfuls of shredded husk between your palms. The dust will fall away, leaving long fibers in your grasp. Collect these fibers for separate use (like making hanging baskets or lining plant pots).
- Sifting: Pass the material through a coarse sieve or mesh. Shake gently to separate the finer coco peat from larger fiber bits.
- Efficiency tip: For larger volumes, use a screen with smaller holes to maximize your collection of fine, uniform coir dust.
Take your time to maximize efficiency, as thorough separation leads to better-quality, more consistent soil.
Washing and Screening the Material
Raw coco peat may contain residual salts and impurities. Washing is an essential step that cannot be skipped, especially if you live in an area where coconut palms grow near the ocean.
- Soak the peat in a tub or bucket of clean water. Stir occasionally and allow it to soak for 24-48 hours.
- Drain and rinse thoroughly. Repeat at least once (more for heavily salted husks).
- Screen again if needed to ensure a fine, even consistency after washing.
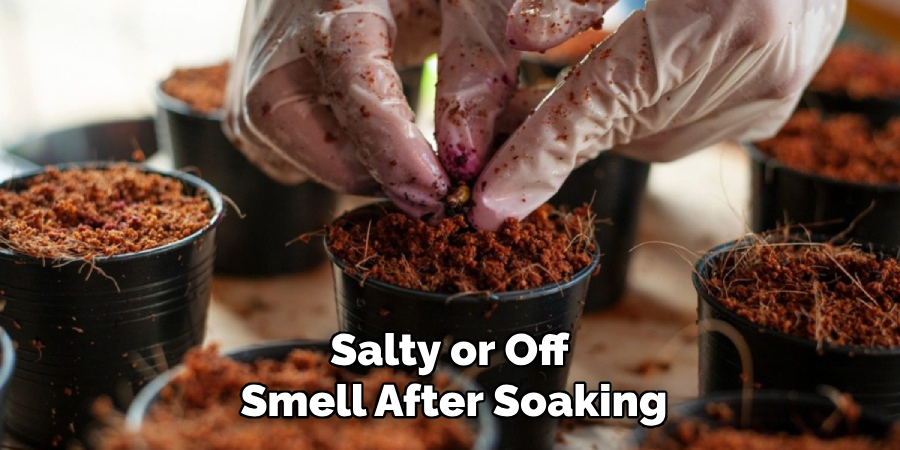
If you notice a salty or off smell after soaking, continue rinsing until the odor fades. This ensures your plants won’t suffer from salt stress later.
Optimizing the Coco Peat for Soil Creation
Once you have clean, screened coco peat, it’s time to fine-tune its properties to make it the perfect growing base.
Adjusting Moisture Content
Proper hydration is the key to maximizing coco peat’s benefits. Dry peat is dusty and may even repel water at first.
- Pre-wet the peat before mixing it with other components. Aim for a moisture level where the peat feels moist to the touch but you can’t squeeze liquid water from a handful.
- Test by balling up the peat—if it holds together lightly, it’s ready to use.
Avoid waterlogging, as soggy peat can become anaerobic and develop unpleasant smells.
Mixing Coco Peat with Other Components
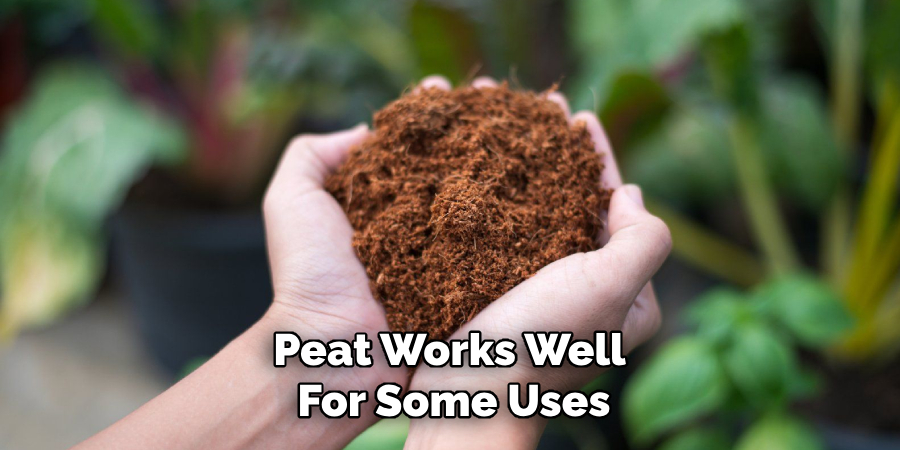
While pure coco peat works well for some uses, it’s often beneficial to create a blend by combining it with other soil amendments.
- Compost: Mix in to boost microbial activity and add nutrients, especially for heavy-feeding plants.
- Sand: Add coarse sand for plants that want extra drainage, such as succulents or root vegetables.
- Vermicompost or leaf mold: A small amount of these rich, organic materials can further enhance nutrient content.
Blend thoroughly before use to create a uniform, easy-to-handle mix tailored to your plant’s specific needs.
Storing and Maintaining Fresh Coco Peat Soil
You might not use all your fresh coco peat soil at once. Proper storage is important to preserve its quality and prevent contamination.
- Store coco peat in a breathable bag, large bucket, or bin with a loose-fitting lid.
- Keep it in a cool, dry, and shaded place, away from direct sunlight and excess moisture.
- Make sure the container is clean and free from old soil, which may harbor pests or diseases.
If storing for extended periods, check occasionally for signs of mold or pests. If the peat becomes dry, lightly mist it with water to restore optimal moisture before use.
Benefits of Making Coco Peat at Home
There are many advantages to learning how to make coco peat soil yourself rather than buying commercial products.
- Economic: Homemade coco peat is often far less expensive, especially if you source husks locally. You save on shipping and packaging costs while ensuring maximum freshness.
- Environmental: By using agricultural byproducts, you help prevent waste and reduce your gardening footprint. Your process avoids the chemical additives sometimes present in commercial mixes.
- Gardening quality: You control every step of the process, ensuring clean inputs and customization for your plant needs. The result is often a superior, more reliable growing medium than what’s available on store shelves.
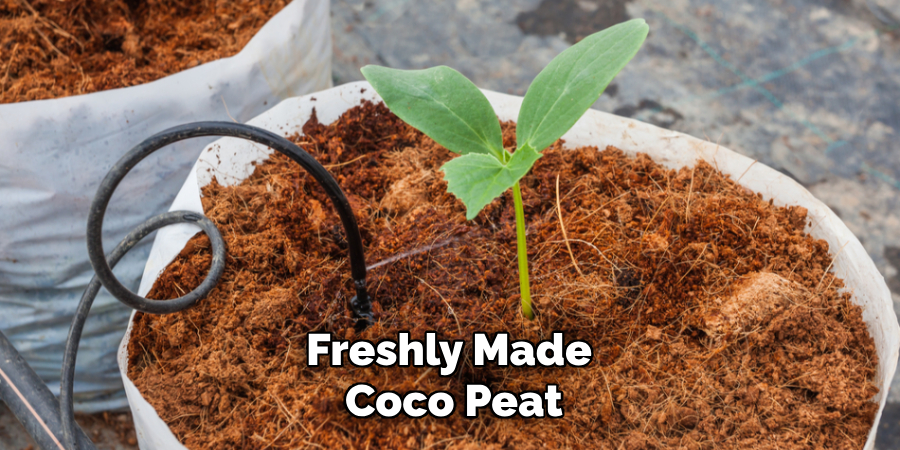
Freshly made coco peat can also introduce you to sustainable, closed-loop gardening. Using a renewable resource and creating less landfill waste is a responsible choice for any gardener.
Common Mistakes to Avoid
There are a few pitfalls you might encounter when making coco peat soil. Steering clear of these ensures lasting success:
- Skipping the washing phase: Neglecting to rinse coco peat thoroughly can lead to salt accumulation, which will harm sensitive plants and seeds.
- Using low-quality or contaminated husks: Moldy or pesticide-treated husks introduce risk to your garden. Always check your source and the condition of the husks beforehand.
- Overly wet or dry storage: Waterlogged storage can cause peat to rot or develop bad odors, while too-dry storage leads to dustiness and poor rehydration.
- Failing to blend components thoroughly: A poorly mixed soil blend can result in inconsistent plant growth and patchy watering.
To avoid these mistakes, follow every step with care and patience, paying attention to material sources, cleanliness, and preparation.
Using Coco Peat in Gardening Projects
Once you’ve learn to make coco peat soil, the possibilities are endless for its use in your garden.
- Seed starting: Coco peat’s fine, fluffy texture is ideal for delicate seeds, giving strong, even germination and protecting fragile roots.
- Improving existing garden beds: Incorporate into heavy clay or sandy beds to boost water retention, drainage, and root aeration.
- Hydroponic growing: Its sterile nature and ability to hold nutrients make coco peat a top choice for hydroponics and container gardening.
Experiment with different combinations and observe which plants thrive best—soon you’ll find coco peat is the backbone of a vibrant, productive garden.
Conclusion
Learning how to make coco peat soil is a simple, rewarding process that pays dividends for gardeners of all levels. By following these detailed, actionable steps—from selecting fresh coconut husks, carefully breaking them down, and extracting the coir dust, to washing, mixing, and storing the final product—you gain control over an invaluable growing medium.
Homemade coco peat offers unmatched water retention, root aeration, and eco-friendly benefits at a fraction of the cost of commercial mixes. It’s a smart, sustainable choice for anyone looking to enrich their soil and support healthier, more productive plants.
As you try your hand at making coco peat soil, remember that patience and attention to detail are key. By embracing a DIY approach, you’re not only caring for your garden—you’re making a positive difference for your home and the planet.
About
Jennifer Branett is a distinguished figure in the world of Garden design, with a decade of expertise creating innovative and sustainable indoor solutions. His professional focus lies in merging traditional craftsmanship with modern manufacturing techniques, fostering designs that are both practical and environmentally conscious. As the author of garden, Jennifer delves into the art and science of garden-fix, inspiring artisans and industry professionals alike.
Education RMIT University
(Melbourne, Australia) Associate Degree in Design (Jennifer Branett) Focus on sustainable design, industry-driven projects, and practical craftsmanship. Gained hands-on experience with traditional and digital manufacturing tools, such as CAD and CNC software.
Nottingham Trent University
(United Kingdom) Bachelor’s in Garden and Product Design (Honors) Specialized in product design with a focus on blending creativity with production techniques. Participated in industry projects, working with companies like John Lewis and Vitsoe to gain real-world insights.Publications and Impact
In indoor, Jennifer Branett his insights on Garden design processes, materials, and strategies for efficient production. His writing bridges the gap between artisan knowledge and modern industry needs, making it a must-read for both budding designers and seasoned professionals.