
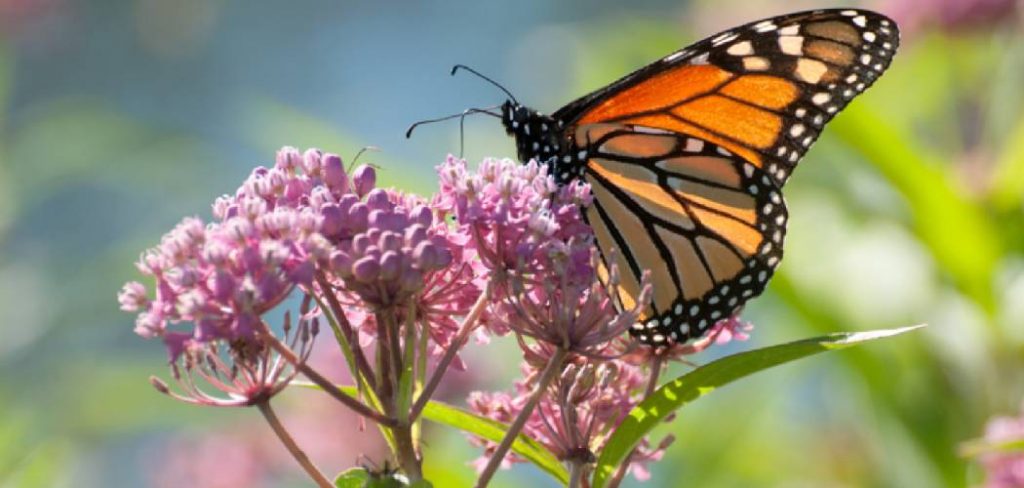
Are you looking to propagate butterfly plants in your garden? Butterfly plants are a great addition to any garden as they attract beautiful butterflies and add a pop of color.
How to propagate butterfly plants is a rewarding way to expand your garden and attract more pollinators like butterflies, bees, and hummingbirds. These plants are loved for their vibrant flowers and ability to thrive in a variety of conditions. Whether you’re a seasoned gardener or a beginner, propagation is a simple and cost-effective method to grow new plants from existing ones.
By using techniques like seed collection, cuttings, or division, you can ensure a healthy and colorful garden that supports local ecosystems. Before beginning, it’s essential to understand the basic steps and care requirements to achieve successful propagation.
What Are the Benefits of Propagation?
Propagation has several benefits, both for the gardener and the environment.
- Cost-effective: By growing new plants from existing ones, you can save money on buying new plants. This is especially useful for expensive or rare plant varieties.
- Control Over Quality: When propagating from your plants, you have control over their care and can ensure they are healthy and disease-free.
- Promotes Biodiversity: Propagation allows you to support local ecosystems by growing native plants that provide food and shelter for native wildlife.
- Flexibility in Gardening: With propagation, you can easily expand your garden without having to purchase more plants. You also have the opportunity to experiment with different techniques and create unique and diverse plant combinations.
- Affordability: Propagation can save you money in the long run by cutting down on the cost of purchasing new plants. It also allows you to produce a large quantity of plants from just a few parent plants.
What Will You Need?
- Parent Plants: The first step in propagation is to select the parent plants that you want to propagate from. These can be any healthy and mature plants that you already have in your garden or ones that you purchase specifically for propagating.
- Propagation Tools: While some methods of propagation require minimal tools, others may require more specialized equipment such as pruning shears, rooting hormone, and trays or pots for planting.
- Potting Mix: It’s important to use a high-quality potting mix when propagating, as this will provide the necessary nutrients and support for root development.
- Watering Can or Spray Bottle: Proper watering is crucial for successful propagation. A watering can with a long spout or a spray bottle can be useful for watering delicate cuttings without causing harm.
- Labels: Labeling your plants is important for keeping track of different varieties and propagation methods. Use waterproof markers or labels to avoid fading when exposed to moisture.
Once you have gathered all the necessary supplies, it’s time to start propagating!
10 Easy Steps on How to Propagate Butterfly Plants
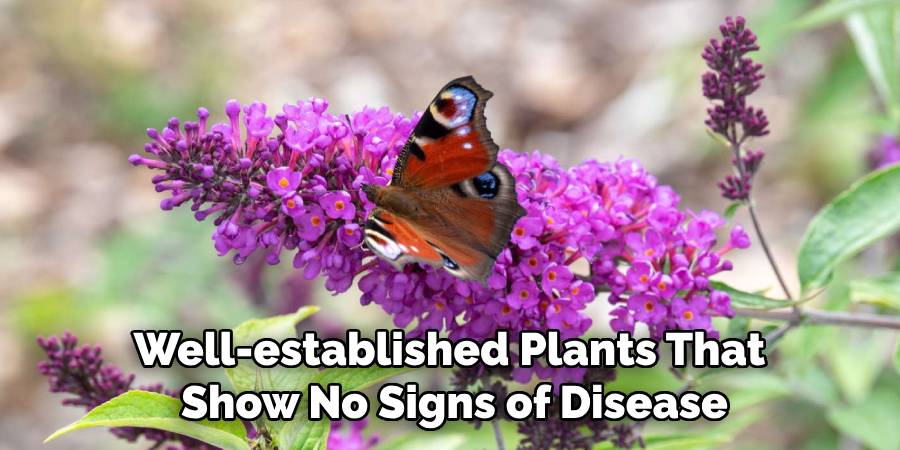
Step 1. Choose Healthy Parent Plants:
Select mature, well-established plants that show no signs of disease or stress. Look for vibrant, green foliage and sturdy stems, as these indicate a thriving plant capable of producing strong cuttings. Avoid plants with yellowing leaves, wilted growth, or visible pests, as these issues can negatively impact the success of propagation. Healthy parent plants provide the best chance for new cuttings to root and grow into robust butterfly plants.
Step 2. Gather Your Tools:
To successfully propagate butterfly plants, you’ll need a few essential tools. Gather a clean, sharp pair of pruning shears or scissors to make precise cuts without damaging the parent plant. Have a clean container filled with water if you plan to root the cuttings in water, or prepare small pots with well-draining soil for soil propagation. It’s also helpful to have rooting hormone powder or gel on hand to encourage quicker root development. Ensure you have gloves for handling plants and a clean surface for working, as cleanliness reduces the risk of introducing diseases to your cuttings.
Step 3. Take Cuttings:
Choose healthy, mature stems from the parent plant to take your cuttings. Look for stems that appear vigorous and free from any signs of pests or disease. Using your sterilized scissors or pruning shears, make a clean cut just below a node, which is the area where leaves or branches grow from the stem. Aim for cuttings that are 4-6 inches long and include at least two or three healthy leaves. Remove any leaves from the lower portion of the cutting to prevent them from sitting in water or soil, which can lead to rot. Handle the cuttings gently to avoid damage and ensure they remain hydrated by placing them in your prepared water or soil immediately after cutting.
Step 4. Remove Lower Leaves:
Once you have taken the cuttings, carefully remove the leaves from the lower part of the stem. This step is crucial if you plan to propagate in water or soil, as submerged leaves can decay and cause bacterial growth, harming the cutting. To do this, gently pinch off the leaves or use a clean pair of scissors or pruning shears. Be sure not to damage the stem while removing the leaves, as an intact stem is essential for successful root development. After this, your cutting is ready for the next step in the propagation process.

Step 5. Dip in Rooting Hormone:
To encourage root growth and improve the chances of successful propagation, dip the cut end of the stem into rooting hormone. This powdered or liquid substance contains growth hormones that stimulate root development. Gently tap off any excess powder or liquid to avoid clumping when placed in water or soil. Using rooting hormone is especially helpful for plants that might be slow or difficult to root naturally, providing them with an additional boost. Once the cutting is coated, it’s ready to move to the planting phase.
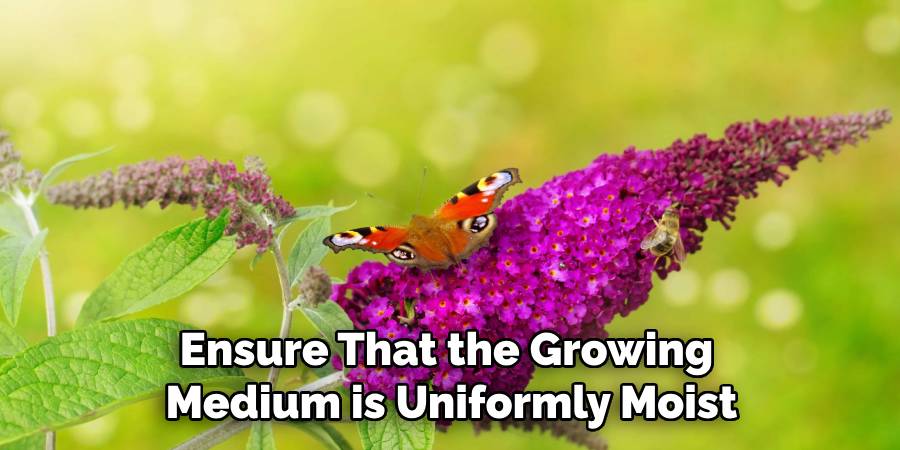
Step 6. Plant in Growing Medium:
Carefully place the treated cutting into a prepared growing medium, such as sterile potting soil, perlite, or a mix of soil and sand. Ensure that the cutting is inserted deep enough to remain stable, typically burying the stem about 1-2 inches into the medium. Gently firm the soil around the base of the cutting to eliminate air pockets and provide proper support. Maintain consistent moisture in the growing medium, but avoid waterlogging, as excessive moisture can lead to rot. Place the container in a location with indirect sunlight and a stable temperature to encourage root development.
Step 7. Water Thoroughly:
Water the cutting thoroughly after planting to ensure that the growing medium is uniformly moist. This initial watering helps settle the soil around the cutting, eliminating any remaining air pockets and promoting good contact between the stem and the medium. Be careful not to overwater; the medium should be moist but not saturated. After watering, allow excess water to drain to avoid creating a waterlogged environment. Regularly monitor the moisture level and adjust as needed to maintain an ideal balance for root development.
Step 8. Create a Humid Environment:
To encourage successful rooting, it’s important to create a humid environment around your cutting. This can be achieved by covering the cutting and its container with a clear plastic bag, dome, or a similar enclosure that allows light to pass through while trapping moisture. Ensure the covering does not touch the cutting itself to prevent fungal issues. Periodically check the setup to ensure condensation is present inside the enclosure, as this indicates adequate humidity levels. However, allow for some ventilation by opening the covering briefly each day to reduce the risk of mold or rot.
Step 9. Place in Indirect Light:
Place the cutting in a location where it will receive bright, indirect light. Avoid exposing the cutting to direct sunlight, as this can cause overheating or scorch the delicate leaves. A shaded windowsill or a spot with filtered light works well. Light is essential for photosynthesis, helping the cutting to grow and establish roots, but the key is to maintain a gentle balance that nurtures the plant without causing stress.
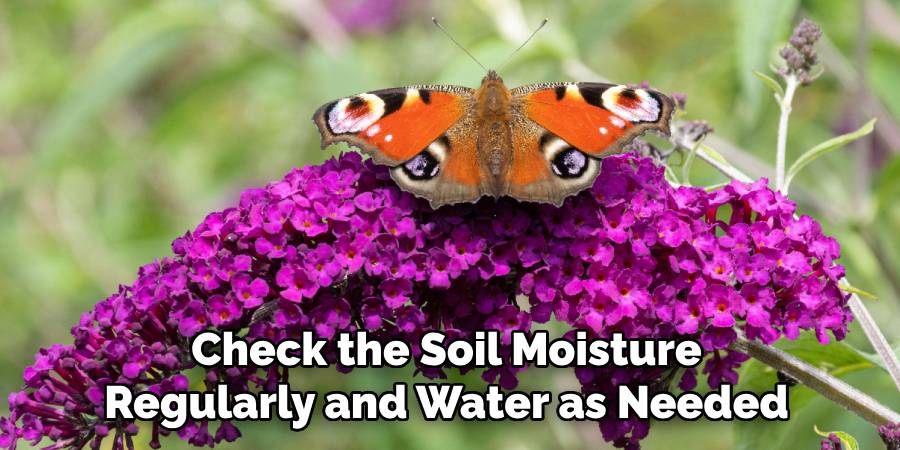
Step 10. Monitor and Maintain:
Keep a close watch on the cutting to ensure it remains healthy during the rooting process. Check the soil moisture regularly and water as needed to keep it lightly moist but not soggy. Watch for any signs of stress, such as yellowing leaves or drooping stems, and adjust care accordingly. If using a plastic bag or cover to create humidity, remove it occasionally to allow air circulation and prevent mold growth. Patience is key, as root development can take several weeks. Stay attentive and provide consistent care to give your cutting the best chance to thrive.
By following these steps, you can propagate butterfly plants effectively and enjoy watching them multiply and thrive.
Conclusion
How to propagate butterfly plants is a rewarding process that allows gardeners to expand their collection while enjoying the wonder of nurturing new growth.
By carefully following propagation steps, including selecting healthy cuttings, ensuring proper soil, and maintaining optimal conditions like humidity and light, you can greatly improve the chances of success. Remember, patience and consistency are key, as successful propagation takes time.
With dedication, your butterfly plants will flourish, bringing beauty to your garden or home for years to come.
About
Jennifer Branett is a distinguished figure in the world of Garden design, with a decade of expertise creating innovative and sustainable indoor solutions. His professional focus lies in merging traditional craftsmanship with modern manufacturing techniques, fostering designs that are both practical and environmentally conscious. As the author of garden, Jennifer delves into the art and science of garden-fix, inspiring artisans and industry professionals alike.
Education RMIT University
(Melbourne, Australia) Associate Degree in Design (Jennifer Branett) Focus on sustainable design, industry-driven projects, and practical craftsmanship. Gained hands-on experience with traditional and digital manufacturing tools, such as CAD and CNC software.
Nottingham Trent University
(United Kingdom) Bachelor’s in Garden and Product Design (Honors) Specialized in product design with a focus on blending creativity with production techniques. Participated in industry projects, working with companies like John Lewis and Vitsoe to gain real-world insights.Publications and Impact
In indoor, Jennifer Branett his insights on Garden design processes, materials, and strategies for efficient production. His writing bridges the gap between artisan knowledge and modern industry needs, making it a must-read for both budding designers and seasoned professionals.