
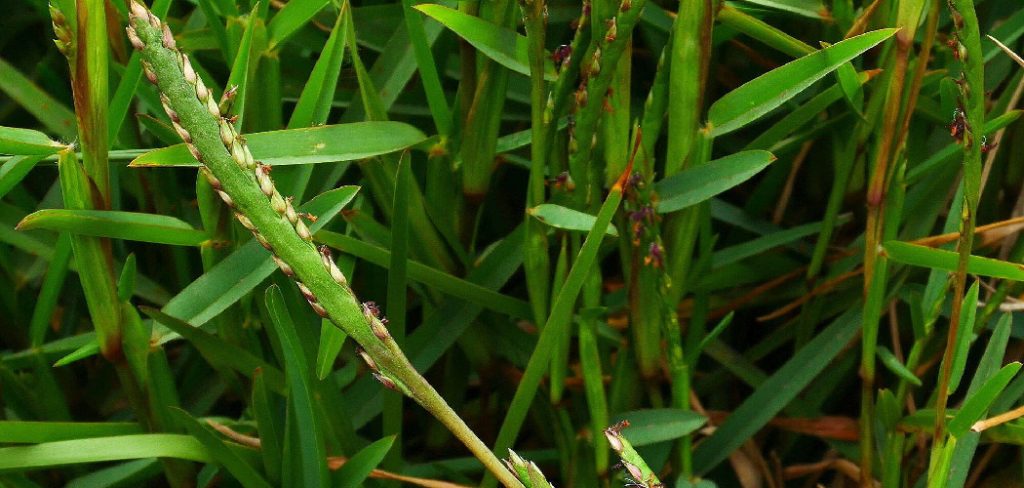
Are you planning to seed centipede grass in your lawn? If yes, then you have made a great choice! Centipede grass is a low-maintenance warm-season grass that can thrive in various soil types and weather conditions.
Growing a lush and low-maintenance lawn begins with properly seeding your centipede grass. Known for its slow growth and rich green color, centipede grass is a popular choice in warmer climates due to its adaptability and minimal care requirements. Establishing this type of grass from seed is an economical and effective way to create a beautiful lawn, but it does require the right preparation and timing to ensure success.
This guide on how to seed centipede grass will walk you through the essential steps to help you achieve a thriving centipede grass lawn.
What Will You Need?
Before planting centipede grass, you will need to gather a few tools and materials. These include:
- Soil Test Kit: It is important to test your soil’s pH level before planting any type of grass. Centipede grass thrives in acidic soils with a pH range of 5.0-6.0.
- Rake or Rototiller: Depending on the size of your yard, you may need a rake or rototiller to prepare the soil for planting.
- Centipede Grass Seeds or Sod: You can purchase centipede grass seeds from a local gardening store or online. Alternatively, you can also purchase sod which is essentially pre-grown grass that can be rolled out onto your lawn.
- Fertilizer: While centipede grass does not require a lot of fertilizer, it is important to give it a boost during its initial growth phase. Look for a slow-release fertilizer specifically designed for centipede grass.
- Watering Equipment: A garden hose or sprinkler system will be necessary to water the newly planted seeds or sod until they are established.
- Mulch or Straw: To help retain moisture and protect the young grass from harsh weather conditions, you may want to consider using mulch or straw on top of the newly planted seeds or sod.
10 Easy Steps on How to Seed Centipede Grass
1. Prepare the Soil
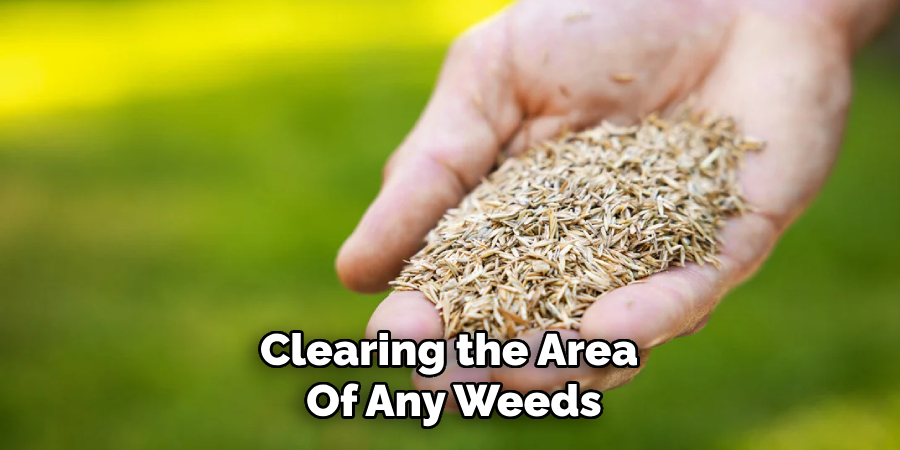
Begin by mowing the existing grass as low as possible and clearing the area of any weeds, rocks, and debris. Use a soil test kit to check the pH level of the soil, as centipede grass thrives in slightly acidic soil with a pH between 5.0 and 6.0. If needed, apply lime or sulfur to adjust the pH to the desired range.
2. Aerate the Soil
Aerating the soil is a crucial step as it helps to improve drainage, reduce compaction, and allow air, water, and nutrients to penetrate deeper into the ground. You can use a core aerator, which removes plugs of soil, or a spike aerator to create holes in the surface. For larger areas, consider renting a machine for efficiency, while a manual aerator can work well for smaller spaces. Ensure that the entire area is covered evenly, focusing on areas that may have heavy foot traffic or appear more compacted. Proper aeration provides an ideal environment for the centipede grass seeds to establish deeper roots and thrive long-term.
3. Add Soil Amendments
Adding soil amendments is a crucial step in preparing your lawn for centipede grass seeds. Begin by testing your soil’s pH level, as centipede grass thrives in slightly acidic conditions with a pH between 5.0 and 6.0. If the soil is too alkaline, you can apply sulfur to lower the pH. Conversely, if the pH is too low, consider adding lime to raise it. Additionally, incorporating organic matter, such as compost or well-rotted manure, can improve soil structure and enhance nutrient availability. Focus on spreading the amendments evenly across the area and tilling them into the top few inches of soil to ensure proper integration.
4. Plant the Seeds
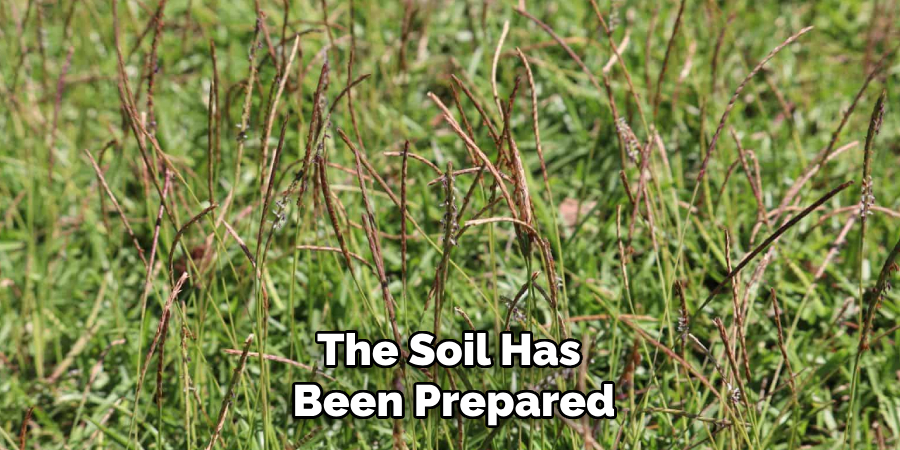
Once the soil has been prepared, it’s time to plant the seeds. Begin by reading the specific planting instructions provided on the seed packet, as different plants have varying requirements for depth, spacing, and sunlight. Create small rows or holes in the soil at the recommended depth and spacing for the type of seeds you are planting. Gently place the seeds into the prepared rows or holes, ensuring they are not clustered too closely together. Cover the seeds lightly with soil and press down gently to ensure good seed-to-soil contact. Water the area thoroughly immediately after planting to help the seeds settle and initiate germination.
5. Rake Lightly
Use a rake to lightly smooth over the soil surface after planting your seeds. This helps to evenly distribute the soil and ensures that the seeds are properly covered without being buried too deeply. Be gentle during this process to avoid displacing the seeds or compacting the soil too much, as this could hinder germination. Raking also helps to maintain a clean and level planting area, promoting uniform growth.
6. Apply Mulch or Straw
Cover the freshly planted area with a thin layer of mulch or straw. This helps retain moisture, regulate soil temperature, and protect the seeds from being displaced by wind or heavy rain. Be sure not to apply too thick a layer, as it may block sunlight and prevent the seedlings from emerging. A light, even covering will provide the necessary protection while allowing the seeds to germinate and grow effectively.
7. Water Consistently
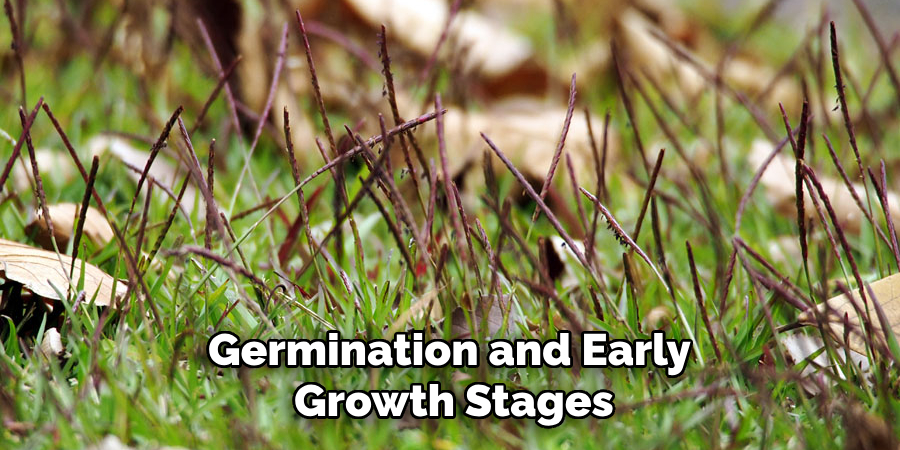
Water the area consistently to keep the soil evenly moist during the germination and early growth stages. It’s crucial to avoid overwatering, as excessively soggy soil can lead to seed rot or fungal issues. Aim to water gently using a spray nozzle or watering can to prevent washing away the seeds. Monitor the soil regularly and adjust your watering schedule based on weather conditions, ensuring the young plants receive sufficient hydration for strong and healthy development.
8. Monitor Germination
During the germination phase, it is important to keep a close eye on the progress of your seeds. Check daily for signs of sprouting, as different plants have varying germination rates. Remove any weeds that may appear, as they can compete with your seedlings for nutrients and water. Ensure the soil remains consistently moist but not waterlogged, and adjust environmental factors like sunlight or temperature if needed. If you notice any signs of poor germination, such as weak or sparse growth, consider factors like seed quality, soil conditions, or watering habits that might need improvement. Consistent monitoring sets the foundation for healthy and vigorous plants.
9. Maintain Growth
Maintaining the growth of your plants requires ongoing care and attention to their evolving needs. Regularly check for signs of pests or diseases and address any issues promptly to prevent further damage. Pruning can help remove dead or overcrowded parts of the plant, encouraging healthy growth and improving airflow. Ensure your plants receive the right balance of sunlight, water, and nutrients for their specific requirements, as this will support their continued development. Mulching around the base can help retain moisture and suppress weeds, contributing to a healthier growing environment.
10. Fertilize and Care Regularly
Fertilizing your plants regularly is essential to provide them with the nutrients they need to thrive. Choose a fertilizer that suits the specific requirements of your plants, whether it’s organic compost, slow-release granular fertilizers, or liquid feeds. Pay attention to the application instructions to avoid over-fertilization, which can harm your plants and disrupt soil health. Additionally, monitor your plants for any signs of stress or nutrient deficiencies, such as yellowing leaves or stunted growth, and adjust your care routine accordingly.
By following these tips, you can ensure that your plants have access to the necessary nutrients for strong and healthy growth.

5 Things You Should Avoid
- Planting at the Wrong Time of Year
Centipede grass thrives when planted during the warmer seasons, typically late spring or early summer, when soil temperatures are optimal for germination. Avoid planting during cooler months, as the seeds may fail to germinate properly.
- Using Too Much Seed
Over-seeding can lead to overcrowding, preventing the grass from spreading evenly and reaching its full potential. Stick to the recommended seeding rate to ensure proper growth and coverage.
- Neglecting Soil Preparation
Centipede grass requires well-draining soil with a pH level of around 5.0 to 6.0. Avoid skipping soil testing and preparation, such as aerating or adding lime if needed, as improper soil conditions will hinder seed germination.
- Overwatering or Underwatering
After seeding, maintain consistent moisture in the soil without over-saturating it. Excessive watering may wash seeds away, while underwatering can cause seeds to dry out and fail to germinate.
- Ignoring Weed Control
Weeds compete with young centipede grass seedlings for nutrients, light, and water. Avoid seeding in areas with uncontrolled weed infestation and take steps to manage weeds before planting.
Conclusion
How to seed centipede grass successfully requires careful attention to preparation, timing, and maintenance.
Start by selecting a suitable planting season, ideally late spring or early summer, and prepare the soil by ensuring it is well-drained and free of debris. Apply seeds evenly and avoid common mistakes such as overwatering, poor soil preparation, or neglecting weed control. Once seeds are planted, maintain consistent moisture levels and monitor for weed growth to give your grass the best chance to thrive.
With patience and proper care, a lush, healthy centipede grass lawn can be achieved.
About
Jennifer Branett is a distinguished figure in the world of Garden design, with a decade of expertise creating innovative and sustainable indoor solutions. His professional focus lies in merging traditional craftsmanship with modern manufacturing techniques, fostering designs that are both practical and environmentally conscious. As the author of garden, Jennifer delves into the art and science of garden-fix, inspiring artisans and industry professionals alike.
Education RMIT University
(Melbourne, Australia) Associate Degree in Design (Jennifer Branett) Focus on sustainable design, industry-driven projects, and practical craftsmanship. Gained hands-on experience with traditional and digital manufacturing tools, such as CAD and CNC software.
Nottingham Trent University
(United Kingdom) Bachelor’s in Garden and Product Design (Honors) Specialized in product design with a focus on blending creativity with production techniques. Participated in industry projects, working with companies like John Lewis and Vitsoe to gain real-world insights.Publications and Impact
In indoor, Jennifer Branett his insights on Garden design processes, materials, and strategies for efficient production. His writing bridges the gap between artisan knowledge and modern industry needs, making it a must-read for both budding designers and seasoned professionals.